This guide takes your MangoTart from a sealed box to a working AI agent in about ten minutes. The box has no screen — you do everything from your phone or computer on the same network.
What you'll need
- The MangoTart box, its power supply, and the network cable
- A phone or computer on the same Wi-Fi / network as the box
- A free MangoTart account (you'll create it at mangot.art)
- An AI provider — a ChatGPT subscription is easiest, or any API key
Step 1 — Plug in and open the box
Power and network
Plug in the power supply and connect the network cable to your router. The box boots in about a minute — no Wi-Fi setup needed, wired just works.
Open its page
On your phone or computer, open the address printed on the box's sticker: http://mango-xxx-yyy.local.
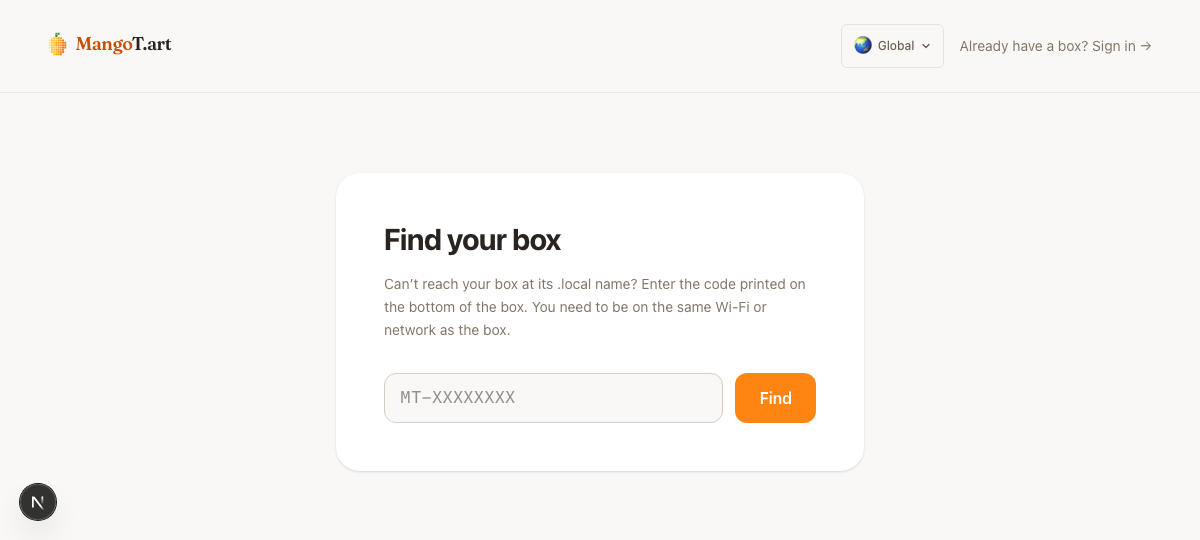
Can't reach it?
Some networks block .local names. Open the find page, enter the MT-XXXXXXXX code from the bottom of the box, and you'll get a link you can tap.
Step 2 — Bind your account
The setup wizard opens on the Activate step. Linking the box to a MangoTart account is what covers warranty, support, and remote help — it doesn't involve any billing.

Sign in at mangot.art
On your phone or computer, go to mangot.art and sign in — we email you a 6-digit code, no passwords. Then activate this box by entering its MT-XXXXXXXX code.
Generate a pairing code
Tap Generate pairing code. You'll get an 8-character code that's valid for 10 minutes.
Enter it on the box
Type that code into the box's Activate screen and continue.
Binding only links the box to your account for support. Which AI it uses — and every key it holds — stays on the box. You choose that in the next steps.
Step 3 — Set an admin PIN
Next, set a PIN. It protects the box's management pages from anyone else on your network, and it's how you'll get back into those pages later. Pick something you'll remember.
Step 4 — Choose your model
This is where you decide which AI the box thinks with.
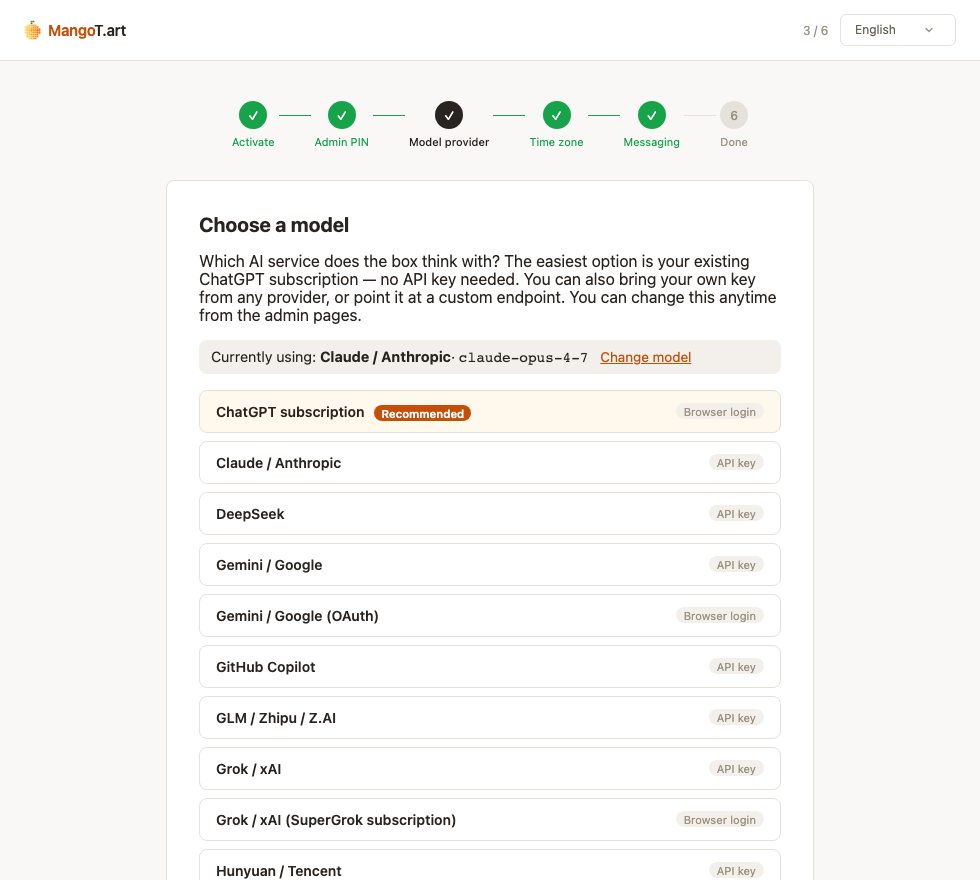
- ChatGPT subscription (recommended) — use your existing ChatGPT Plus / Pro / Go. You'll get a link and a short code: open the link on your phone, sign in to ChatGPT, and enter the code. No API key, no extra cost.
- Bring your own — paste an API key (Claude, DeepSeek, Gemini, and more), use an OAuth login, or point at a custom OpenAI-compatible endpoint.
Either way, billing stays on your own provider account — we never charge you for usage. You can change the model anytime from the admin pages.
In mainland China
ChatGPT's sign-in servers are blocked there, so the ChatGPT option won't connect. Pick a domestic provider instead — DeepSeek, Qwen, MiniMax, and others all work.
Step 5 — Pick your time zone
Choose your city. The agent uses it for schedules, log timestamps, and its sense of what "now" means.
Step 6 — Connect a chat app
Connect one messaging app so you can actually talk to your agent. You only need one to start — add the rest later from the Messaging page.
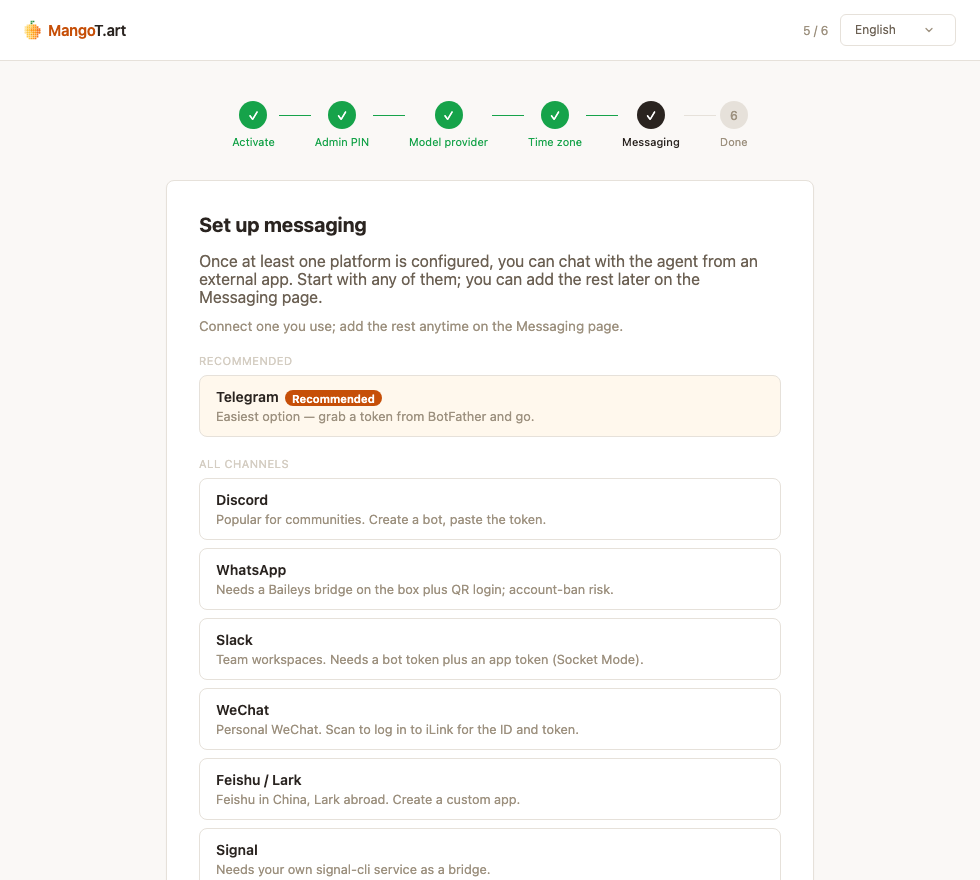
We recommend Telegram: it's the easiest to set up and works anywhere. Message @BotFather, send /newbot, and paste the token it gives you. (WeChat, Discord, Slack, Lark and a dozen others are there too.)
Done — say hi
That's it. Your agent is live.
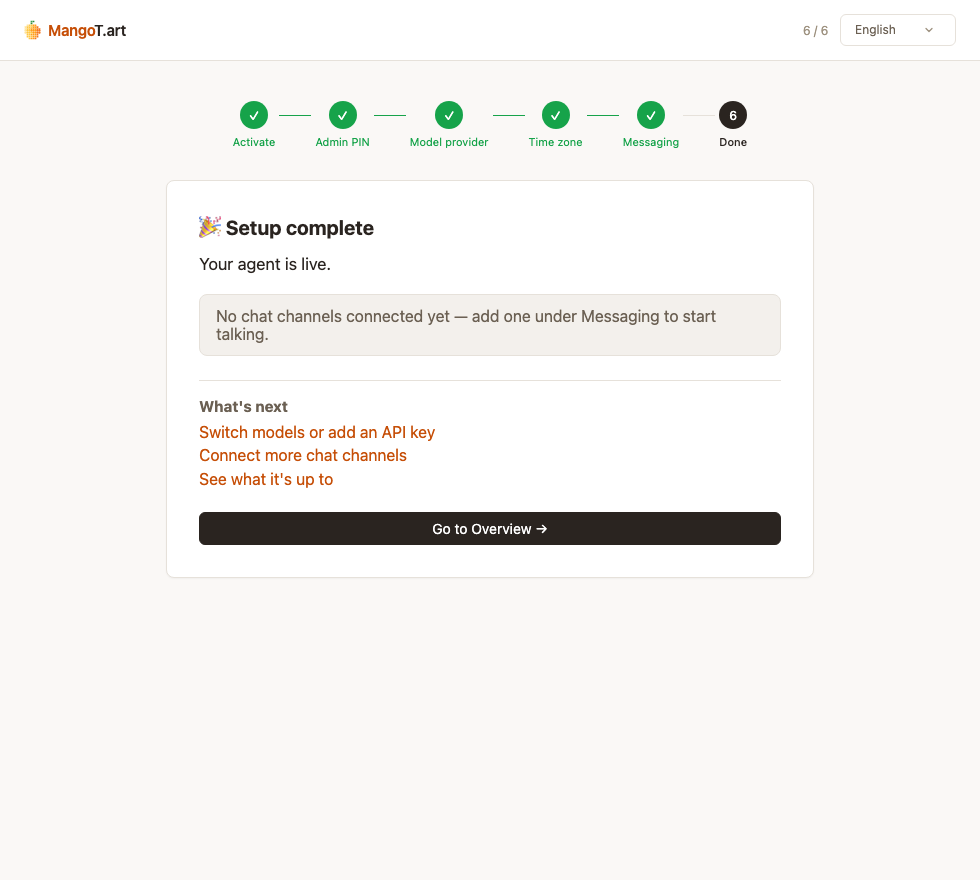
Open the chat app you just connected — say, Telegram — and send your agent a message. If it answers, everything's working.
What's next:
- Email tool — let the agent read and draft from your own mailboxes
- SMS tool — have it draft texts for you to approve and send
- Switch models, add keys, or connect more chat apps anytime from the box's admin pages